This was one of the earliest recipes I ever posted on the blog. I first made this in London when I was visiting friends, who incidentally had no scales and no measuring cups. I totally flew by the seat of my pants when I worked through this recipe and it turned out to be totally delicious. Let’s just say this recipe is very forgiving!
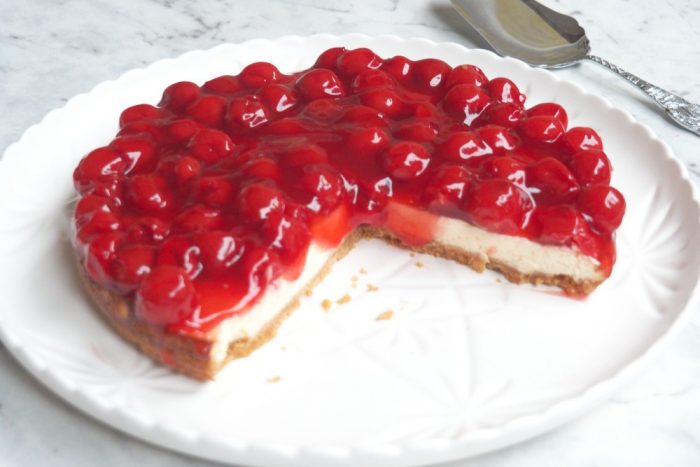
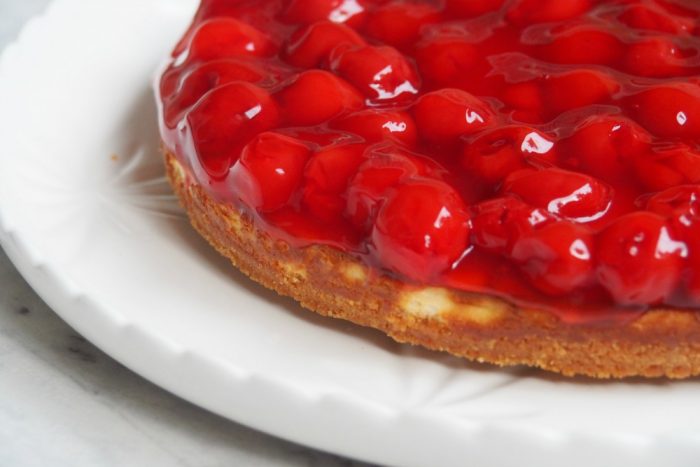
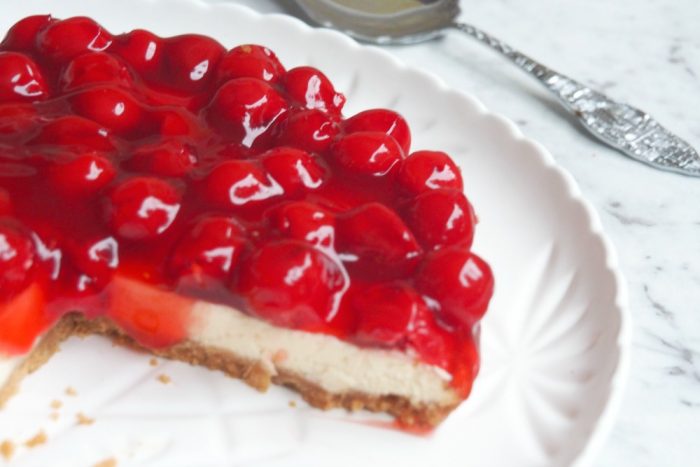
The base is always my favourite part of the cheesecake and I’ll often eat all the cheesy topping off first so I can savour the biscuity deliciousness in all it’s glory. This cheesecake has a relatively thick base and a relatively shallow cheese topping but it’s all perfectly balanced out with the cherries on the top.
I’ve since added a Thermomix conversion, but whether you choose to make this with the original recipe or with your Thermie, it will be a delicious doddle. The thing I love most about this cheesecake, is that unlike most baked cheesecakes, this one doesn’t need a long time to cool in the oven and using the fruit pie filling as a topping will cover any cracks should they appear. You can guarantee that your cheesecake is always going to look the business. Of course, if you want to make your own coulis with your favourite fruit, be my guest. I certainly won’t stop you!
Now tell me which part of the cheesecake is your best? The cheesy filling or the biscuity base?!
Serves 6 – 8
Ingredients
140g granita biscuits
50g butter
FOR THE FILLING
300g cream cheese
2 eggs
1/2 teaspoon vanilla essence
50g caster sugar
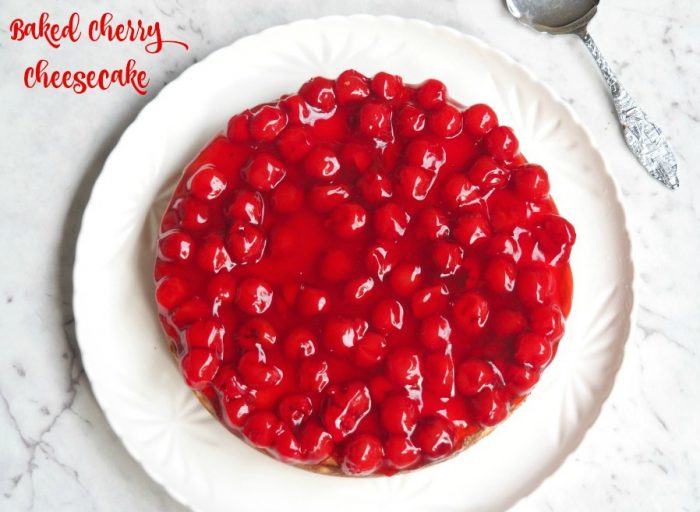
400g can red or black cherry pie filling
How to – Traditional
- Heat oven to 180C/160C fan forced. Lightly grease a 20cm springform cake tin and set aside. I like to line the base with baking paper to ensure easy removal.
- Melt butter in a pan or in the microwave.
- Crush the biscuits using a food processor and add to the butter mixture. Press the biscuit mixture into the cake tin and pop into the fridge to chill while you make the filling.
- Blend the cheese, eggs, vanilla and sugar until smooth, pour into the tin and bake for 30 mins or until just set with a slight wobble.
- Cool for 30 mins with the oven door slightly ajar, then top with the cherry pie filling and refrigerate. Serve chilled.
How to – Thermomix
- Heat oven to 180C/160C fan forced. Lightly grease a 20cm springform cake tin and set aside. I like to line the base with baking paper to ensure easy removal.
- Weigh butter into TM bowl and melt for 2 minutes at 60 degrees on speed 2. Check that butter has melted.
- Add biscuits and crush for 15 seconds on speed 8.
- Press the biscuit mixture into the cake tin and pop into the fridge to chill while you make the filling.
- Wash and dry bowl. Add sugar, cream cheese, vanilla and eggs and mix for 30 seconds on speed 4. Scrape down lid and sides of bowl. If necessary, mix again for another 5-10 seconds. Pour cream cheese mixture over base.
- Cool for 30 mins with the oven door slightly ajar, then top with the cherry pie filling and refrigerate. Serve chilled.
Other info
Prep time: 15 minutes Cooking Time: 30 minutes Cool: 30 minutes + chilling