David and I take our godparental responsibilities very seriously, especially when it comes to making birthday cakes. I must admit, I was more than a little worried when our goddaughter asked for a Moana cake because all the ones we had seen were flights of fondant fancy and we just don’t do fondant. We’re all about the buttercream and the more of it the merrier. Not only is it delicious and it teams well with jam, but it’s very forgiving, particularly to the amateur and/or inexperienced cake decorator.
So we had to think outside of the birthday cake box and come up with a cake that was visually appealing but easy to put together because you’ll remember that one time David and I nearly got divorced over the Train Cake!
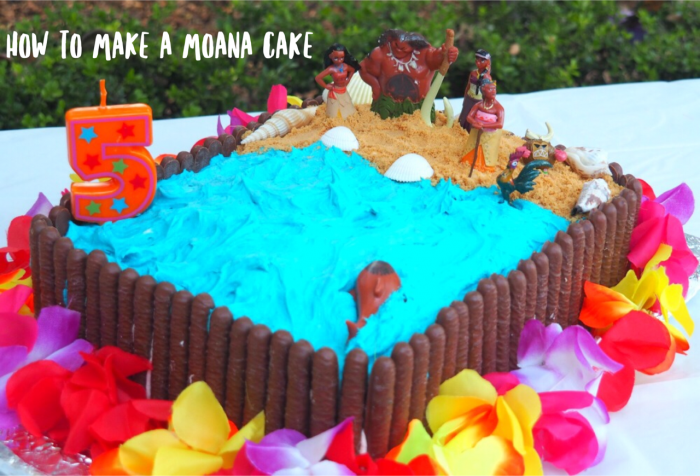
This cake is a box ticker. It’s so easy to put together even I can do it and it totally looks the part!
The buttermilk cake holds it’s shape and keeps really well. If you want to make it ahead of time, it will keep well for a few days uniced and it is also very freezer friendly if you want to be extra organised.
This cake takes a lot of buttercream, between 3 to 4 batches. I suggest you make 1 or 2 batches at a time and see how you go. I’m quite heavy handed when it comes to buttercream, so you may need less than I. If you have any buttercream over, keep it on standby, so that if any of your figures get wobbly you can secure them back into place.
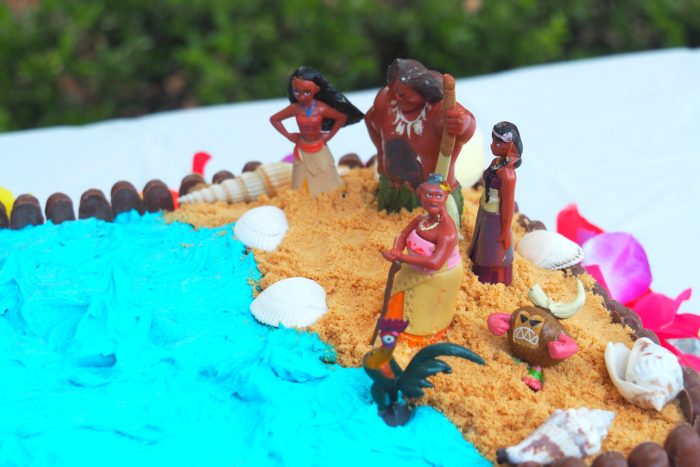
The Moana figures were not cheap but they totally made the cake. There were extra figures left over, and when paired up with the figures topping the cake, they made a great extra gift for the birthday girl.
This tutorial assumes that your cakes are made and you have a batch of buttercream whipped,(check the ingredients list for all the links to recipes you’ll ever need!) and that we’re good to go. Let’s make this cake!
Ingredients
FOR THE CAKE
3 x Nigella’s Buttermilk Birthday Cake
175g strawberry jam
FOR THE BUTTERCREAM
3-4 batches of buttercream icing
blue food colouring
FOR DECORATION
125g granita biscuits, crushed
3 x 200g packs chocolate fingers
EQUIPMENT
You will also need:
1 x 26cm x 30 cm cake tin
1 large tray or cake board
a piping bag and nozzle
palette knife
Moana Cake Toppers (I got mine from the UK, but these are similar)
shells for crafting
toy sea animals (optional)
1 large or 2 small lei
How to: Assembling the Cake
- Place five blobs of buttercream on the tray, one in each of the four corners, and one in the centre of where the cake will be. This is going to be the “glue” that holds the cake in place. Place the first layer of the cake on to the buttercream “glue.”
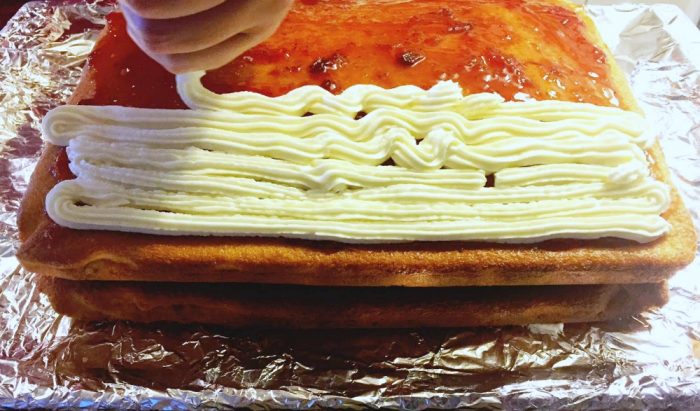
- Cover the cake generously with jam. Don’t spread the jam right to the edge, leave a border of about 1cm.
- Pipe the buttercream over the jam, again leaving a small border.
- Place the second cake layer on top, and repeat the jam and buttercream process.
- Place the third cake layer on top.
- Now you’ll need to give the cake a “crumb coat” or what I like to refer to as “dirty icing.” Using a palette knife, spread a thin layer of buttercream first over the top and then over the sides of the cake to seal in any loose crumbs. Remove any excess frosting with the palette knife.
- When the crumb coat is done, pop the cake into the fridge for about 30 minutes.
How to: Decorating the Cake
- Take about two thirds of one batch of buttercream and add a few drops of blue food colouring. Mix well.
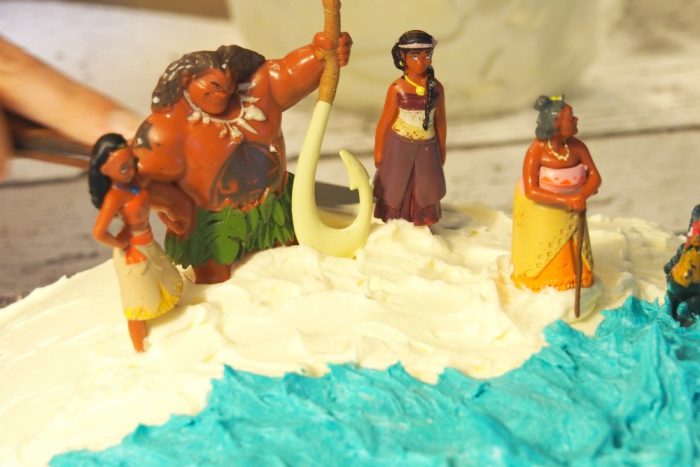
- Add the blue icing to the top of the cake making a wave effect – this You Tube shows you how. Remember to leave some space for the beach.
- Build up the beach with the remaining white icing and secure the cake toppers in position, building up the icing at the base of the cake toppers to secure them in place.
- Ice the sides of the cake with white buttercream. You don’t have to be too precious about it because the buttercream is going to be covered in chocolate fingers.
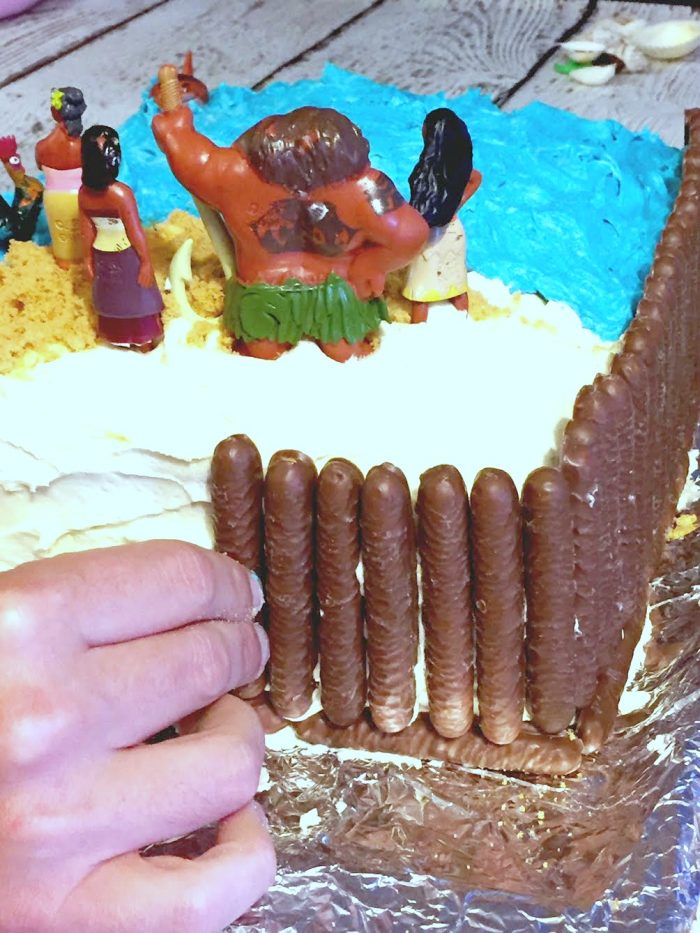
- Place a row of chocolate fingers, horizontally (long side down) all around the cake and then, place the remaining chocolate fingers vertically (short side up) all the way around to complete the border.
- Carefully sprinkle the biscuit crumbs over the “beach” using a small spoon to position them in place. Don’t worry if some sand drops into the sea, just add a blob more blue icing.
- Pop the cake in to the fridge for about 30 minutes to allow everything to set.
- To complete the Moana effect, place a lei around the cake just before serving.
More Moana party Ideas
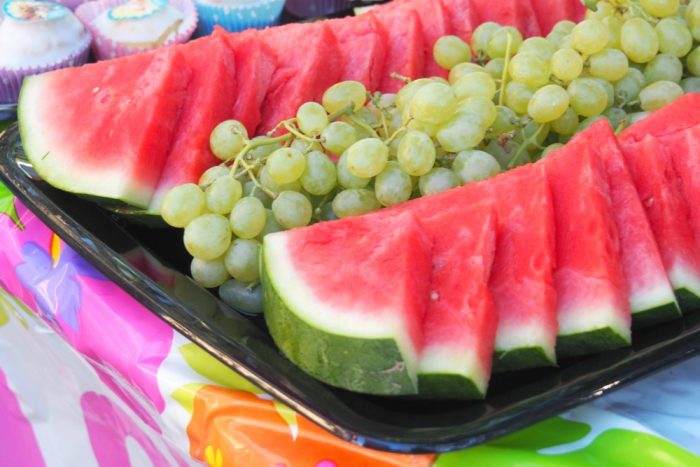
Stick with the tropical theme and keep it healthy with some scrumptious fruit platters.
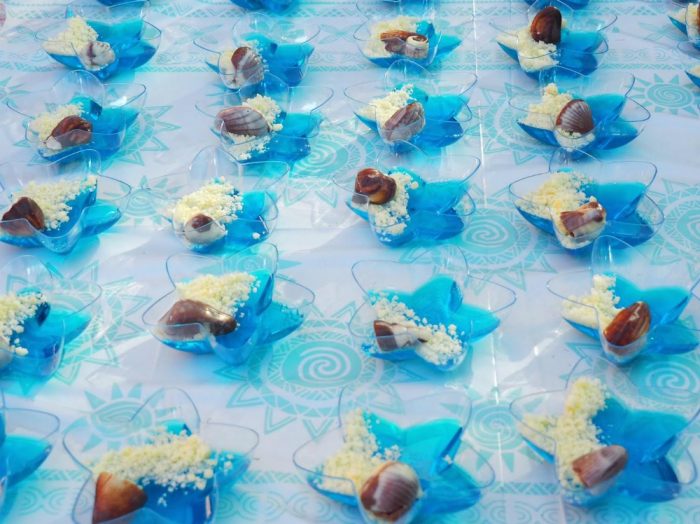
How about some seashells, seashells on the seashore? You can find these mini star shaped plastic dishes from the $2 store. Simple fill with blue jelly, top with biscuit crumbs and half a chocolate shell to complete the look.
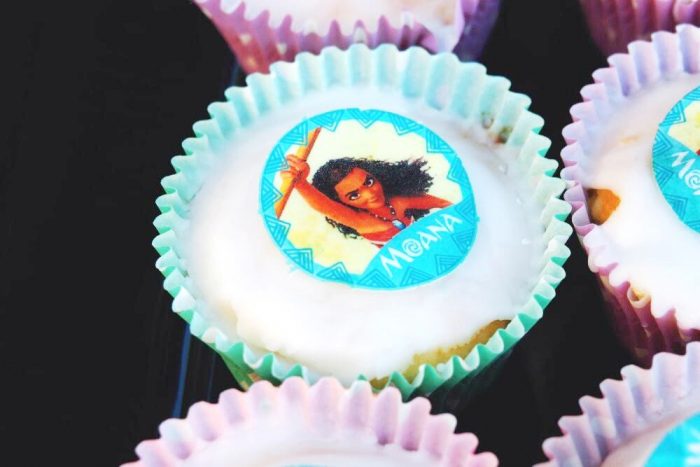
Make some Moana themed cupcakes with some edible cupcake toppers. Not only do the kids go wild for these, but the toppers hide a multitude of decorating sins!
Create an island oasis with inflatables, pineapple honeycomb decorations and tropical coloured balloons.
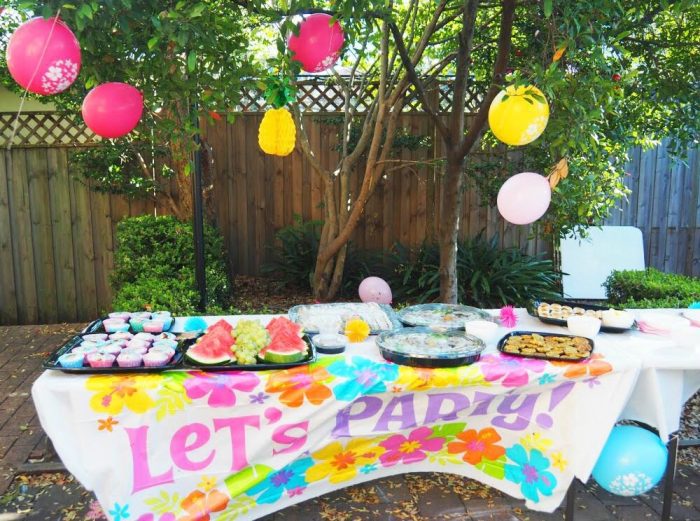
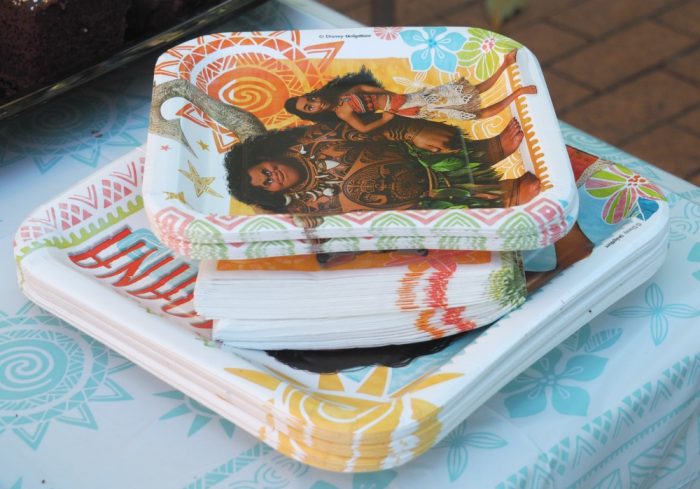
And if you want to go all out, don’t forget your Moana partyware!
Have you seen Moana? If you could choose any birthday cake for yourself, what would it be? Are you a fan of fondant or you on Team Buttercream?
Linking up with Kylie for IBOT