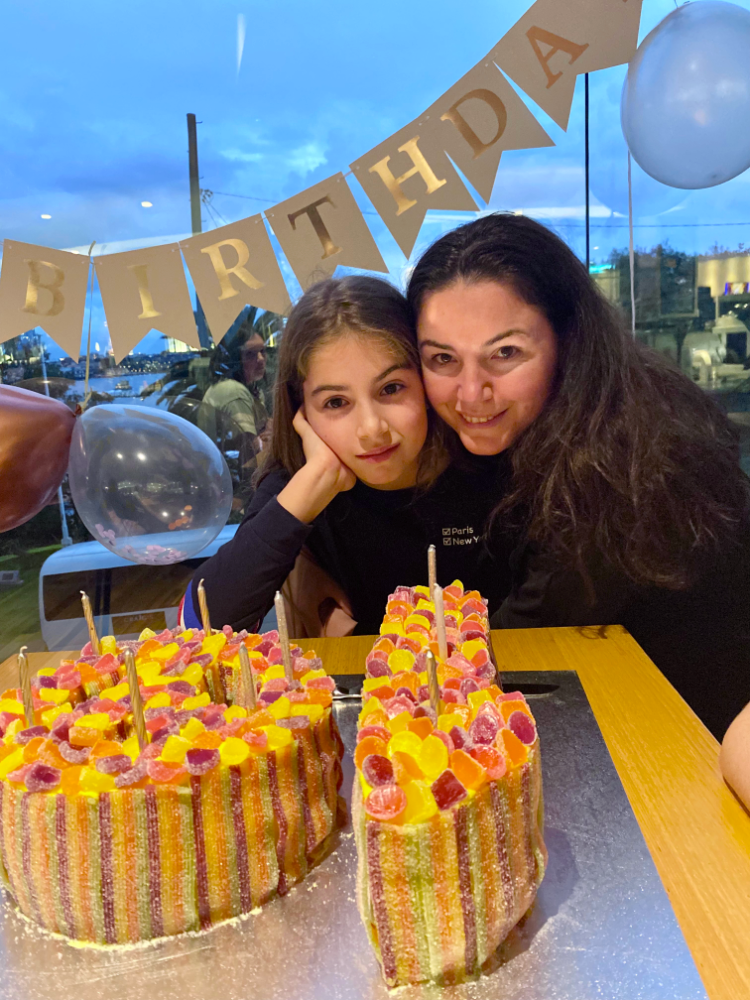
Let me show you how to create this super fun number 10 birthday cake. It is so easy to make even I can do it! It’s the most delicious way to celebrate double digits!
We came out of our self imposed birthday cake making retirement because our god daughter was turning 10 and a) it’s the last one that we’ll be able to bake for her in a while and b) it’s not every birthday you hit double digits.
We’ve made her a few cakes in the past. For her 5th birthday we made her a Moana cake, her 6th birthday we made her a swimming pool cake, her 7th birthday was the bunny and her 8th was the number 8 (which was an absolute cracker but I still haven’t blogged the how to) and we took a rain check on birthday number 9 because I was overseas.
But we’re back, bigger and better than ever with this double digits deliciousness! Number cakes are my favourite because they’re very forgiving, you don’t need lots of fancy equipment and there’s no question which birthday/year it was when you look back at past party photos!
We adapted this Womens Weekly Recipe and used what equipment we had to hand. I was quite limited this year as I’d already shipped a lot of my baking stuff back to the motherland. All you really need for this cake is a deep round cake tin and a bar cake pan (thanks to Not Quite Nigella for lending me hers) and a DIY template for the zero/peace sign.
Depending on how many people you’re sharing this cake with, you’ll need either 2 bar shaped cakes and 2 round ones or 1 bar shaped cake and 2 round ones. However many you make, you might want to level them off equally so that they’re about the same height and don’t worry if they’re not the same. No one will mind!
Before we get stuck in with the ingredients and the how tos, here are my top tips for this cake.
- Make the cakes in advance and freeze.
- Dirty ice or crumb coat each of the cakes the night before, if possible.
- Cut the cakes into the 1 and 0 shapes before freezing.
- Level off the cakes if you want both numbers to be the same height.
- When cutting the jubes, frequently dip the knife in hot water to stop the jubes from sticking to the knife.

You will need
FOR THE CAKE
3 or 4 quantities of buttermilk birthday cake
FOR THE FILLING AND BUTTERCREAM
100g jam
yellow food colouring
2 batches of buttercream (1 for crumb coat, 1 for decorating)
FOR THE DECORATIONS
3 x 160g rainbow sour straps
2 x 350g packets jubes
EQUIPMENT
23cm (9 inch) deep round cake pan
bar cake pan (7.5cm x 27.5cm x 7cm)
45cm (18 inch) square cake board
template for zero/peace sign
piping bag and nozzle
palette knife
How to – Preparation
- Make the cakes according to the instructions (see notes above.)
- Trim the bar cake/s into a number 1 shape. If you only have 1 bar cake, cut it in half. Set aside.
- Using a template, cut out either a circle or the peace pattern in the round cakes. Stack the cakes on top of each other to check that they are in line with each other.
- Place the 1 cake/s next to the 0 cake/s to check that they are level. If necessary, trim so that they are the same height.
- Wrap each cake/layer in 2 layers of cling film and 1 layer of tin foil and place in a large ziploc bag in the freezer.
How to: Assembling the Cake (Best done when cakes are defrosting/have just defrosted)
- Secure one of the number 1 cakes/halves on to the board with a little buttercream.
- Cover the cakes generously with jam. Don’t spread the jam right to the edge, leave a border of about 1cm.
- Pipe the buttercream over the jam, again leaving a small border.
- Place the remaining number one cake on top of the jam and buttercream.
- Repeat the same process with the zero.
- Now you’ll need to give the cakes a “crumb coat” or what I like to refer to as “dirty icing.” Using a palette knife, spread a thin layer of buttercream first over the top and then over the sides of the cake to seal in any loose crumbs. Remove any excess frosting with the palette knife. Pop into the fridge for about 30 minutes or preferably overnight.
How to: Decorating the cake
- Make the buttercream, adding a couple of drops of yellow food colouring to tint the butter cream yellow and spread all over the top and sides of the cakes.
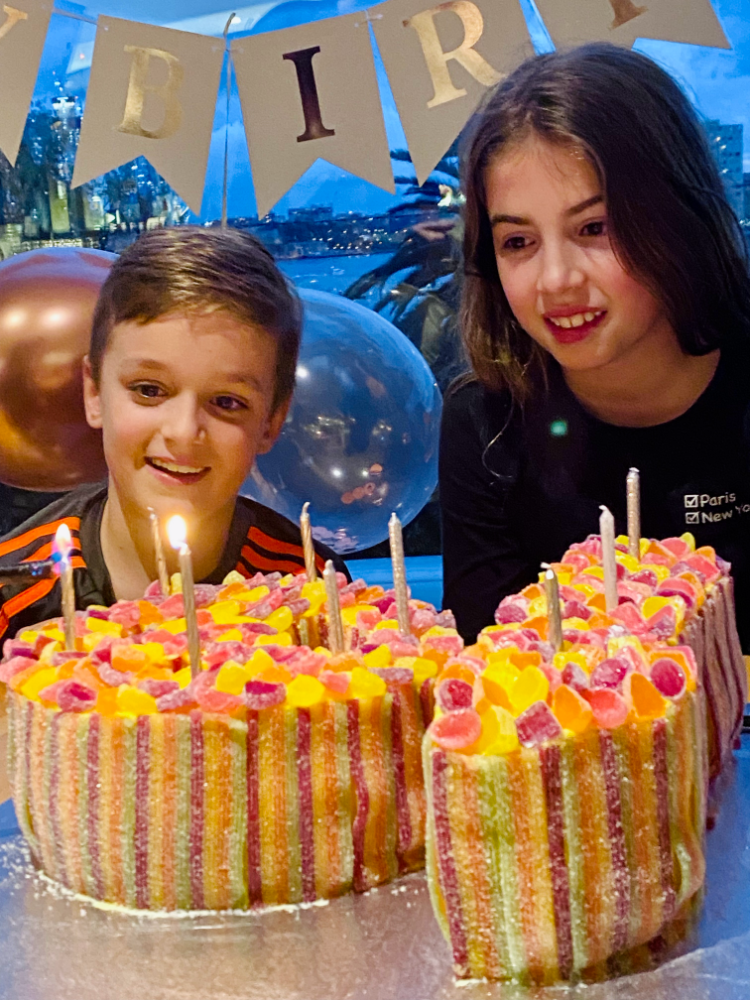
- To decorate the sides of the cake, measure the height of the cakes and use scissors to trim the sour straps to lengths of the same height. Position the trimmed sour straps around the edge of the cake.
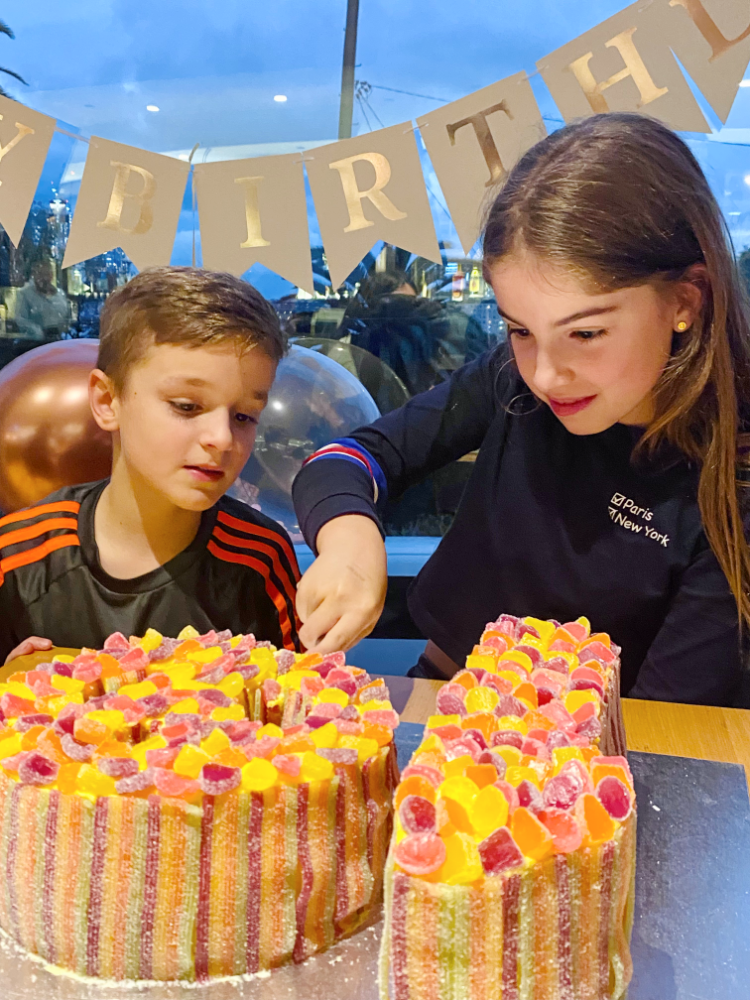
- Using the scissors, cut jubes in half and position cut side up on top of cakes, overlapping slightly, to cover completely.
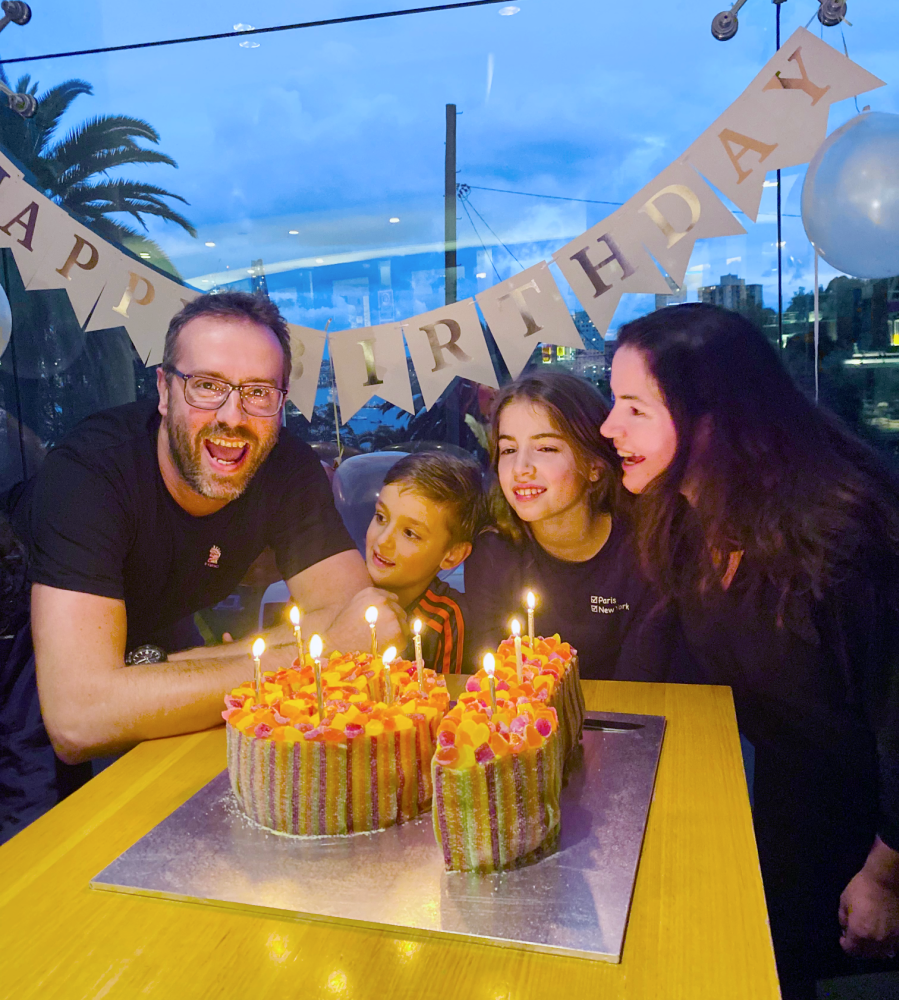
Ta da! This cake is sure to make a double digits birthday one to remember!
Have you ever made a number birthday cake? If you could have any birthday cake what would it be?